Editing workflow
Insert a 10-second black screen without changing its duration
Build and verify a 30 fps sequence with a precise ten-second black gap, using a real downloaded clip and a reproducible FFmpeg example.
By Black Screen Video · · 6 min read
A black clip can separate two scenes, hold a title or give a presentation a deliberate pause. The useful check is the duration of the exported gap. This walkthrough joins two seconds of blue, our ten-second black download and two seconds of red. The finished file is 14 seconds long at 30 fps.
You can download the finished example or follow the commands below with FFmpeg and ffprobe installed. The commands use a macOS/Linux shell. They create a new output file; keep your original footage separately.
1. Download the clip and check its properties
Open the 10-second download page, choose 720p, expand More options, and select 10s → MP4. Save the file as black-720p-10s.mp4 in your working folder.
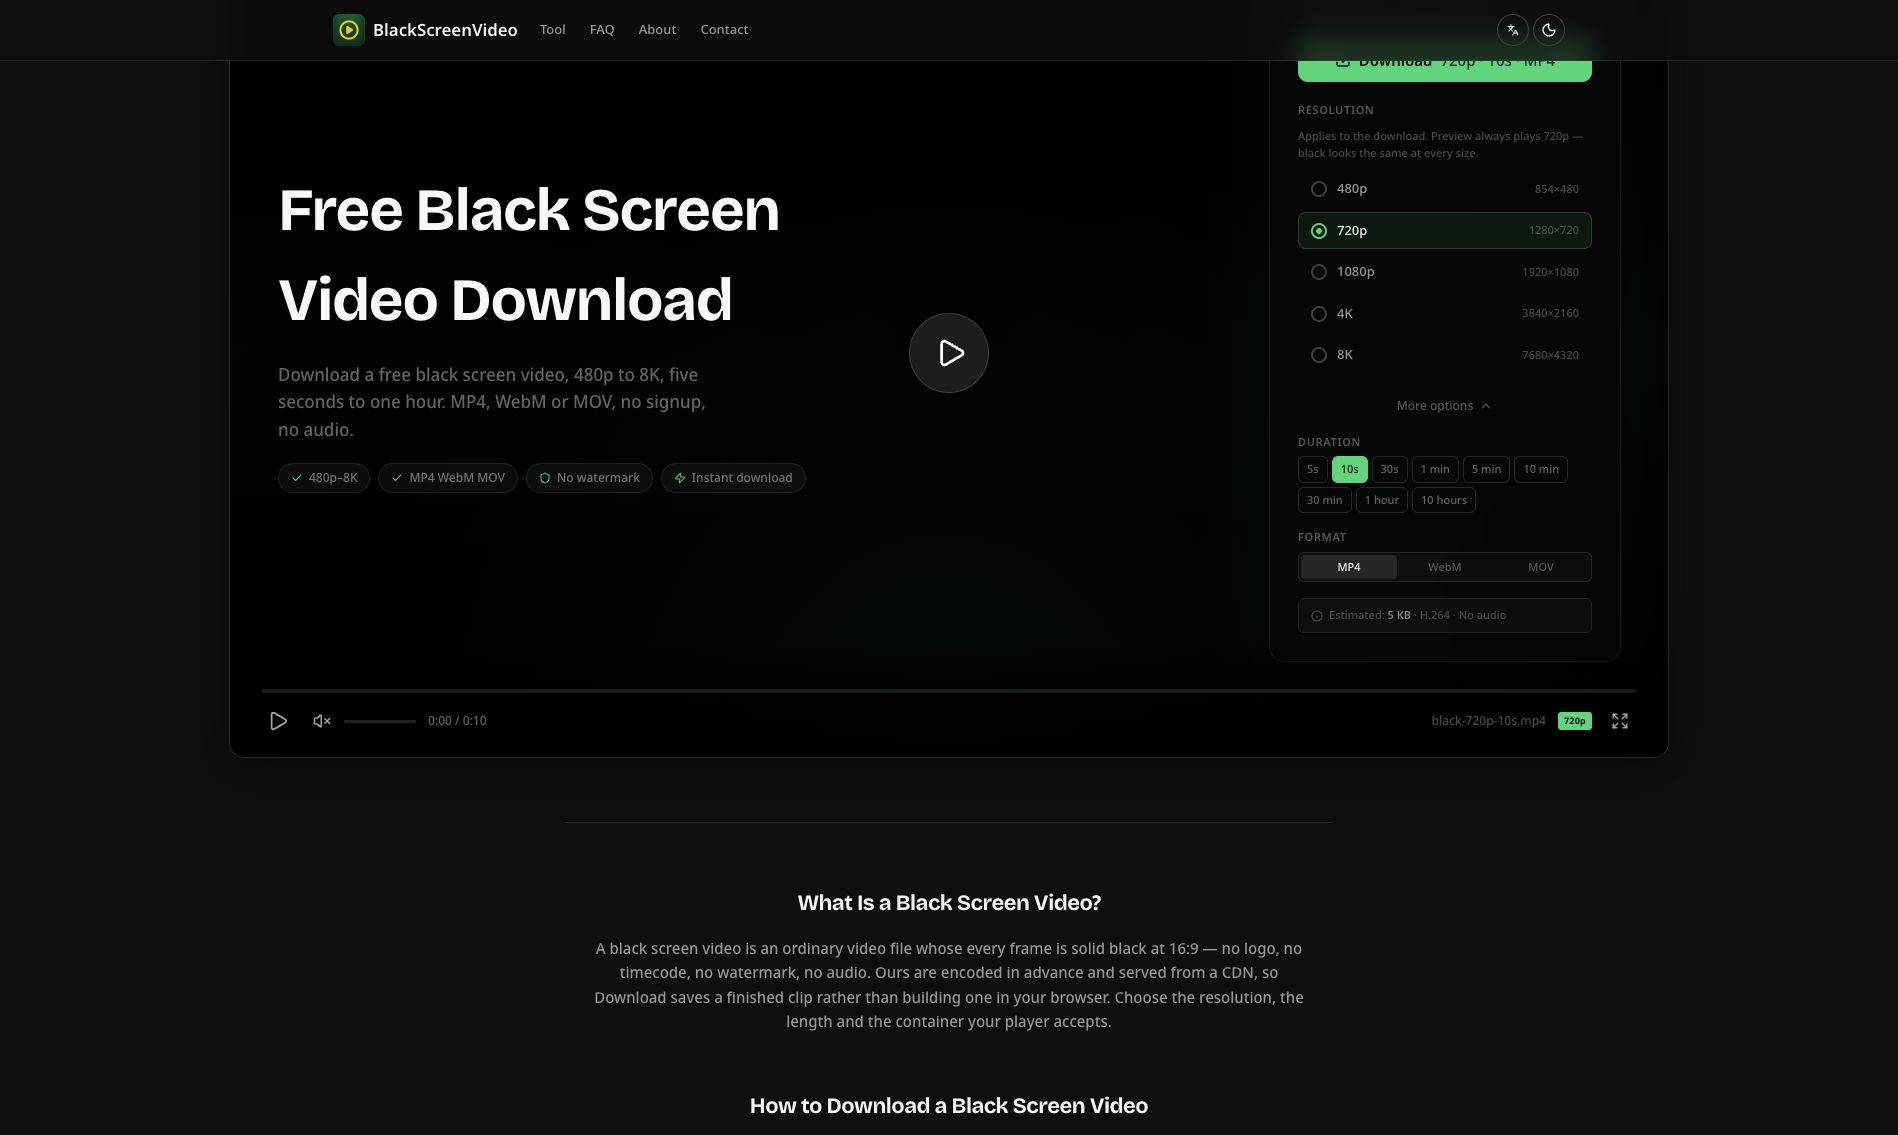
Our downloaded sample measured 1,280 × 720 pixels, 10.000 seconds, 5 fps, 50 frames, H.264, and no audio stream. Its size was 4,972 bytes. Check your copy instead of relying only on the filename:
ffprobe -v error -count_frames \
  -show_entries stream=codec_type,codec_name,width,height,avg_frame_rate,nb_read_frames:format=duration,size \
  -of json black-720p-10s.mp4
The low frame rate is sufficient for an unchanging black picture. It does not make the clip shorter. On a 30 fps timeline, a ten-second gap occupies 300 timeline frames. Reinterpreting the original 50 frames as 30 fps would instead produce about 1.67 seconds. Preserve the duration and repeat frames when converting.
2. Build a visible before-and-after example
Run this from the folder containing the downloaded MP4:
ffmpeg \
  -f lavfi -i color=c=blue:s=1280x720:r=30:d=2 \
  -i black-720p-10s.mp4 \
  -f lavfi -i color=c=red:s=1280x720:r=30:d=2 \
  -filter_complex \
  "[0:v]fps=30,setsar=1,setpts=PTS-STARTPTS[a];[1:v]fps=30,trim=duration=10,setsar=1,setpts=PTS-STARTPTS[b];[2:v]fps=30,setsar=1,setpts=PTS-STARTPTS[c];[a][b][c]concat=n=3:v=1:a=0[out]" \
  -map "[out]" -an -c:v libx264 -preset medium -crf 18 \
  -pix_fmt yuv420p -movflags +faststart ten-second-gap-demo.mp4
All three inputs have the same dimensions. fps=30 supplies the common output frame rate, setsar=1 uses square pixels, and setpts=PTS-STARTPTS starts each segment at zero before concatenation. -an deliberately makes a video-only output. This command does not preserve or insert any audio from your own footage.
The result below contains blue from 0–2 seconds, black from 2–12 seconds, and red from 12–14 seconds. Captions label the three segments.
Download the example MP4 · Read the measured results and file hashes
3. Verify the export, including the black boundaries
Check duration and decoded frame count:
ffprobe -v error -count_frames \
  -show_entries stream=avg_frame_rate,nb_read_frames:format=duration \
  -of json ten-second-gap-demo.mp4
Expected values are 30/1, 420, and 14.000000. Then inspect the black interval:
ffmpeg -hide_banner -i ten-second-gap-demo.mp4 \
  -vf blackdetect=d=1:pix_th=0.10 -an -f null -
In our FFmpeg 8.1 run, the detector reported:
black_start:2 black_end:12 black_duration:10This boundary check is useful because a file can have the correct total duration while a transition or overlap changes the length of its black section. The detector uses a brightness threshold; the result is a timing check for this controlled example, not a display-calibration measurement.
4. Apply the same checks in your editor
Create your sequence at the intended delivery resolution and frame rate. Import the black clip as ordinary video, keep its playback speed at 100%, and place it between the two scenes. On a 30 fps sequence, set the gap to 00:00:10:00. Use cuts at both ends if you need ten seconds of uninterrupted black; fades consume part of that interval.
Our example is 16:9. In a portrait project, fit or scale the black background to the canvas and check that no earlier video layer remains visible. Add titles on a track above it if needed.
The downloaded clip has no audio track. Existing music or dialogue on other tracks will continue unless you edit those tracks too. Decide whether the pause should be silent or have continuing sound, then listen through the exported boundaries.
If an editor rejects the 5 fps source, create a 30 fps copy while retaining ten seconds:
ffmpeg -i black-720p-10s.mp4 -vf fps=30 \
  -an -c:v libx264 -pix_fmt yuv420p black-30fps.mp4
For a shorter beat, start with the 5-second clip. For a format mismatch, use the measured MP4, WebM and MOV comparison.
Test notes and references
The sample download, complete decode, concatenation and black-boundary detection were run with FFmpeg/ffprobe 8.1 on November 2, 2026. The downloadable report includes SHA-256 hashes so you can identify the exact files. The workflow above was tested with FFmpeg; it is not a claim that every editor or device was tested.
For filter behavior, see the official FFmpeg fps filter, concat filter and blackdetect documentation.